 9913b7cbe7
Brings the send screen up to the standard of the rebuilt bulk send flow.

Fixes real defects:
- The single-device auto-select never worked. It was computed in
  defaultValues from devices?.data?.length === 1, but react-hook-form reads
  defaultValues once on mount, while the devices query is still pending, so
  the condition was always false. It now preselects once devices resolve.
- Submitting before devices loaded showed "Required" on the device field,
  which then auto-filled a moment later, leaving a stale error beside a
  populated field. Submit is disabled until devices load.
- Moved off the legacy raw useQuery(['devices']) plus devices.data, the shared
  cache key with a different unwrapped shape that caused the devices?.filter
  crash previously.
- Every field used a placeholder as its label. Placeholders vanish on focus
  and are not reliably announced, so all three now have real labels.

Recipients are chips instead of a growing stack of inputs. They commit on
Enter, comma or blur, so a number typed and left uncommitted is not silently
dropped at send time. Pasting a list adds several at once.

Splitting a pasted list needed care, and an e2e caught it: splitting on
whitespace shredded "+1 (415) 555-0101" into three fragments. Only unambiguous
separators split first; whitespace splitting is a fallback for tokens that
cannot be a single number.

Also adds a segment counter, inline alerts for success and failure instead of
bare text, and a form reset after sending that keeps the device selected.

Phone helpers moved to lib/sms.ts alongside the segment helpers, so the send
page and bulk send share one tested implementation.

One test correction: the desktop footer assertion required links to sit on
exactly one row, but the row layout wraps by design, so it failed whenever
font metrics pushed a link to a second line. It now asserts the property the
design actually guarantees, that links are not one-per-row.

Co-Authored-By: Claude Fable 5 <noreply@anthropic.com>



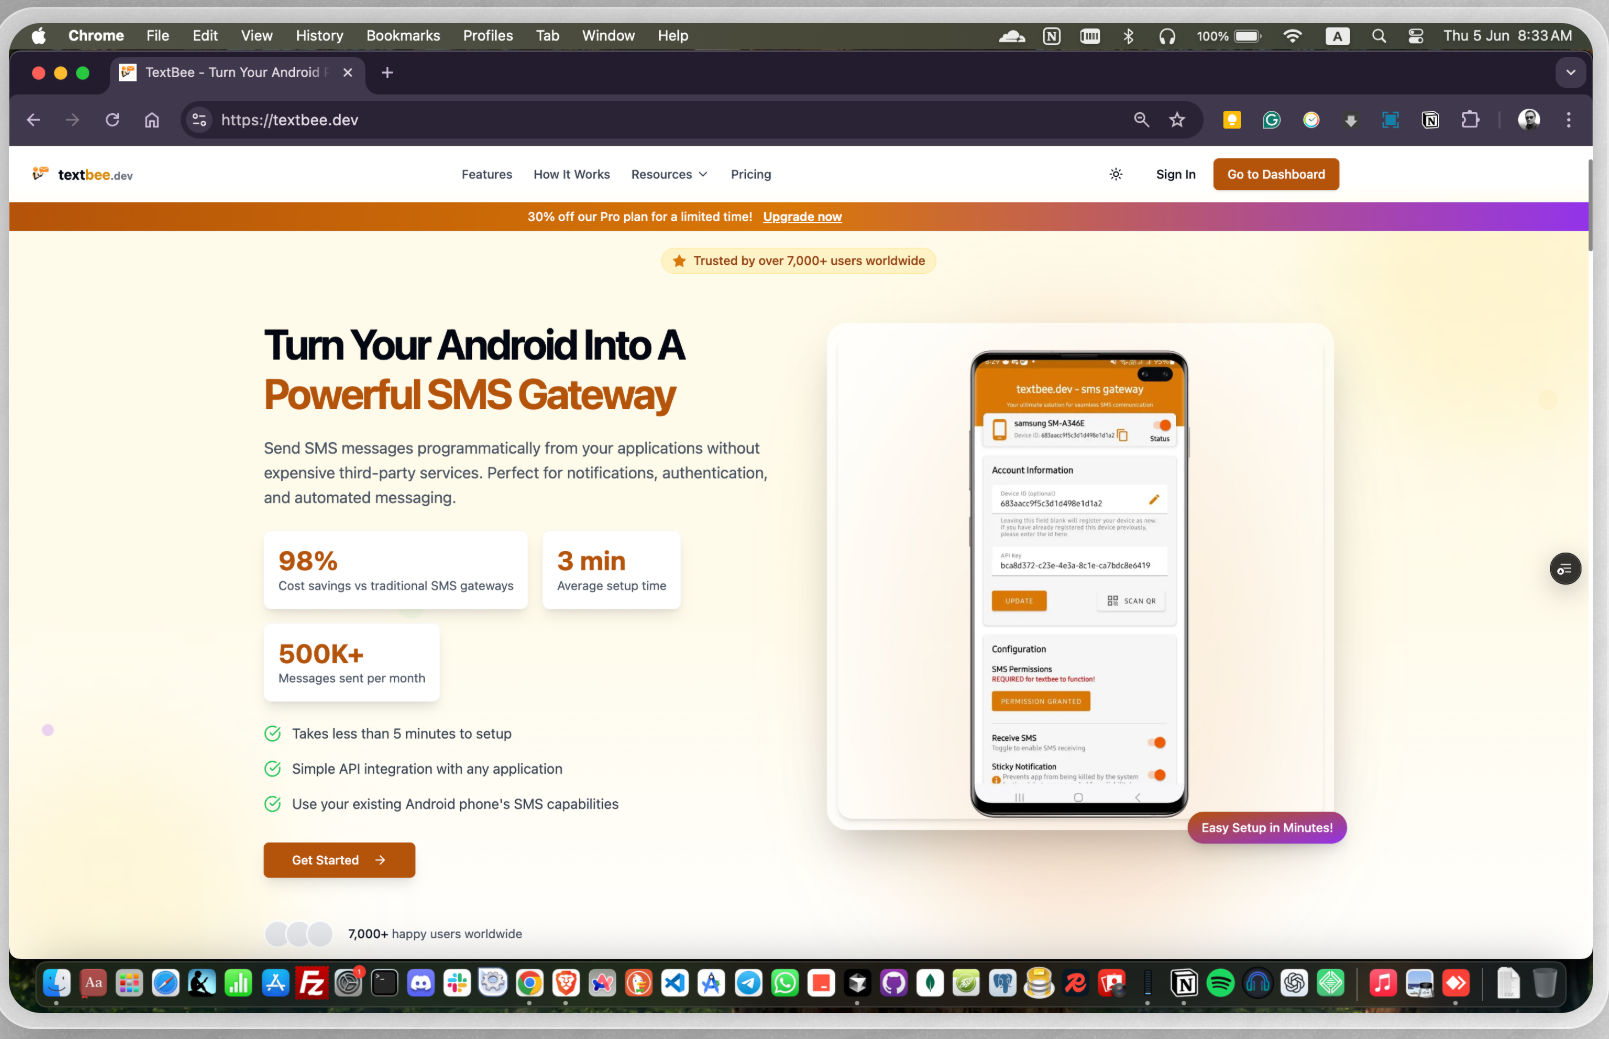
textbee.dev - android sms gateway
Send and receive SMS messages using your own Android phone - no Twilio, no per-message fees. Free, open-source, and self-hostable.
Manage SMS messages through a web dashboard or a REST API. textbee is ideal for businesses, developers, and hobbyists looking for a reliable and cost-effective solution to automate SMS messaging.
Website: https://textbee.dev
Why textbee?
| textbee | Twilio & similar APIs | |
|---|---|---|
| Cost per SMS | Your carrier plan (often free/unlimited) | ~$0.008+ per message |
| Phone number | Your own SIM | Rented number |
| Self-hostable | ✅ Full control over your data | ❌ |
| Open source | ✅ | ❌ |
| Setup time | ~2 minutes | Account approval, compliance forms |
Features
- Send & receive SMS messages via API & dashboard
- Use your own Android phone as an SMS gateway
- REST API for easy integration with apps & services
- Send bulk SMS with CSV file
- Multi-device support for higher SMS throughput
- Secure API authentication with API keys
- Webhook support for incoming messages
- Self-hosting support for full control over your data
Getting Started
- Go to textbee.dev and register or login with your account
- Install the app on your Android phone from textbee.dev/download
- Open the app and grant the permissions for SMS
- Go to textbee.dev/dashboard and click register device / generate API key
- Scan the QR code with the app or enter the API key manually
- You're ready to send SMS from the dashboard or from your application via the REST API
Sending an SMS
const API_KEY = 'YOUR_API_KEY';
const DEVICE_ID = 'YOUR_DEVICE_ID';

await axios.post(`https://api.textbee.dev/api/v1/gateway/devices/${DEVICE_ID}/send-sms`, {
  recipients: [ '+251912345678' ],
  message: 'Hello World!',
}, {
  headers: { 'x-api-key': API_KEY },
});
Python
```python import requestsAPI_KEY = 'YOUR_API_KEY' DEVICE_ID = 'YOUR_DEVICE_ID'
requests.post( f'https://api.textbee.dev/api/v1/gateway/devices/{DEVICE_ID}/send-sms', json={ 'recipients': ['+251912345678'], 'message': 'Hello World!', }, headers={'x-api-key': API_KEY}, )
</details>
<details>
<summary><b>curl</b></summary>
```bash
curl -X POST "https://api.textbee.dev/api/v1/gateway/devices/YOUR_DEVICE_ID/send-sms" \
  -H 'x-api-key: YOUR_API_KEY' \
  -H 'Content-Type: application/json' \
  -d '{
    "recipients": [ "+251912345678" ],
    "message": "Hello World!"
  }'
Enable SMS receiving in the mobile app, then access incoming messages via the REST API, the dashboard, or webhook notifications delivered to your preferred URL.
const API_KEY = 'YOUR_API_KEY';
const DEVICE_ID = 'YOUR_DEVICE_ID';

await axios.get(`https://api.textbee.dev/api/v1/gateway/devices/${DEVICE_ID}/get-received-sms`, {
  headers: { 'x-api-key': API_KEY },
});
curl
```bash curl -X GET "https://api.textbee.dev/api/v1/gateway/devices/YOUR_DEVICE_ID/get-received-sms" \ -H "x-api-key: YOUR_API_KEY" ```- OTP / 2FA delivery for your app
- Order and appointment notifications
- Alerts from servers, cron jobs, and home automation
- Form-to-SMS and lead follow-ups
- Bulk announcements to a contact list (CSV upload)
FAQ
Will my carrier block my number for sending too many messages?
Carriers apply their own rate limits and anti-spam policies, which vary by country and plan. For personal and low-volume use this is rarely an issue. For higher throughput, use multiple devices/SIMs and keep sending rates reasonable. You are responsible for staying within your carrier's terms.Is it legal to send marketing SMS this way?
SMS marketing is regulated in most countries (e.g., TCPA in the US, GDPR/ePrivacy in the EU). textbee is a tool — you are responsible for obtaining consent and complying with the laws that apply to you and your recipients.Does my phone need to stay on?
Yes — messages are sent through your phone, so it needs to be powered on with the app running and connected to the internet. A spare Android phone plugged into a charger works great as a dedicated gateway.Is there a limit on the cloud-hosted version?
See [textbee.dev](https://textbee.dev) for current plans and limits. You can always self-host for full control.Self-Hosting
Technology stack: React, Next.js, Node.js, NestJS, MongoDB, Android, Kotlin, Jetpack Compose, Java (legacy)
Setting Up Database
- Install MongoDB on Your Server: Follow the official MongoDB installation guide for your operating system.
- Using MongoDB Atlas: Alternatively, you can create a free database on MongoDB Atlas. Sign up at MongoDB Atlas and follow the instructions to set up your database.
Firebase Setup
- Create a Firebase project.
- Enable Firebase Cloud Messaging (FCM) in your Firebase project.
- Obtain the Firebase credentials for backend use and the Android app.
Building the Android App
- Clone the repository and navigate to the Android project directory.
- Update the
google-services.jsonfile with your Firebase project configuration. - Update every occurrence of
textbee.devwith your own domain in the project. - Build the app using Android Studio or the command line:
./gradlew assembleRelease
Building the Web
- Navigate to the
webdirectory. - Copy the
.env.examplefile to.env:cp .env.example .env - Update the
.envfile with your own credentials. - Install dependencies:
pnpm install - Build the web application:
pnpm build
Building the API
- Navigate to the
apidirectory. - Copy the
.env.examplefile to.env:cp .env.example .env - Update the
.envfile with your own credentials. - Install dependencies:
pnpm install - Build the API:
pnpm build
Hosting on a VPS
- Install
pnpm,pm2, andCaddyon your VPS. - Use
pm2to manage your Node.js processes:pm2 start dist/main.js --name textbee-api - Configure
Caddyto serve your web application and API. Example Caddyfile:textbee.dev { reverse_proxy /api/* localhost:3000 reverse_proxy /* localhost:3001 } - Ensure your domain points to your VPS and Caddy is configured properly.
Dockerized env
Requirements:
- Docker installed
- After setting up Firebase, update your
.envinweb&&apifolder.cd web && cp .env.example .env \ && cd ../api && cp .env.example .env - Navigate to root folder and execute docker-compose.yml file.
This will spin upwebcontainer,apicontainer alongside withMongoDBandMongoExpress.TextBeedatabase will be automatically created.To stop the containers simply typedocker compose up -ddocker compose down
Contributing
Contributions are welcome!
- Fork the project.
- Create a feature or bugfix branch from
mainbranch. - Make sure your commit messages and PR comment summaries are descriptive.
- Create a pull request to the
mainbranch.
Bug Reporting and Feature Requests
Please feel free to create an issue in the repository for any bug reports or feature requests. Make sure to provide a detailed description of the issue or feature you are requesting and properly label whether it is a bug or a feature request.
Please note that if you discover any vulnerability or security issue, we kindly request that you refrain from creating a public issue. Instead, send an email detailing the vulnerability to contact@textbee.dev.
For support, feedback, and questions
Feel free to reach out to us at contact@textbee.dev or Join our Discord server